
Pepperoni Sliders
There’s something undeniably comforting about biting into a warm, gooey slider, especially when it’s loaded with pepperoni and melted cheese. Imagine the scene: a cozy gathering, friends and family gathered around, laughter echoing through the air, and the tantalizing aroma of baked treats wafting from the kitchen. As you pull a slider apart, the stretch of melted mozzarella and the spicy scent of pepperoni creates an experience that beckons you to dive in. Every bite delivers a crunch on the outside and a savory, melty dream on the inside. It’s an explosion of flavors that dances on your palate, making these pepperoni sliders the star of the table.
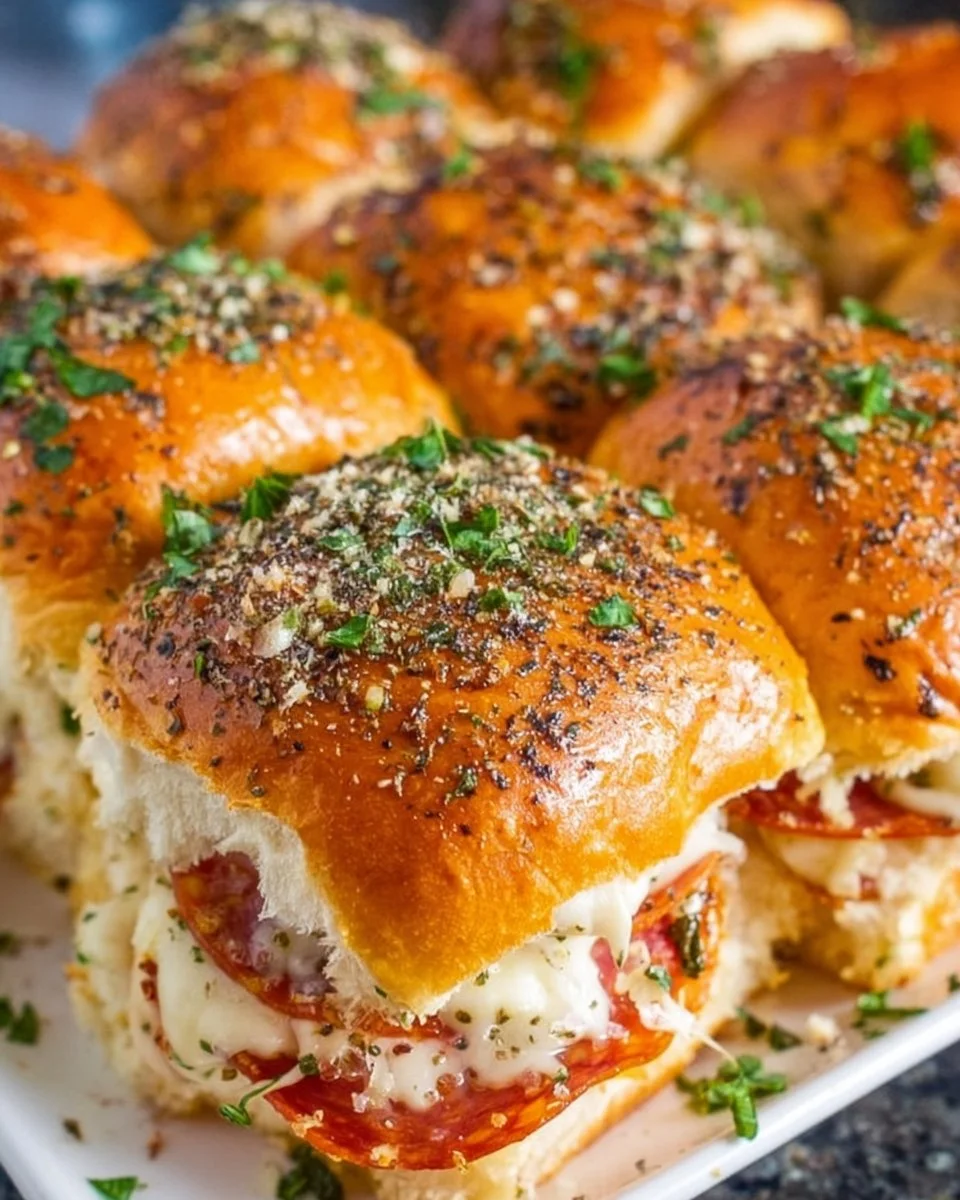
Whether it’s game day, a movie night, or just a casual weekend gathering, these sliders promise to be a hit, enveloping your senses in a delicious embrace. The buttery, garlic-kissed tops perfectly complement the rich pepperoni and the creamy mozzarella within, offering a delightful contrast that ensures no one can resist coming back for more. With minimal prep and an irresistible outcome, it’s no wonder these have become a go-to snack in so many households, perfect for adults and kids alike.
Why You’ll Love This Recipe
There are countless reasons to fall head over heels for these pepperoni sliders. First and foremost, their taste is simply sublime. The bold, spicy notes from the pepperoni, combined with the delightful creaminess of mozzarella, create layers of flavor that make each bite a journey into savory bliss. Their soft, fluffy buns cradle this flavor fiesta while delivering just the right amount of crunch on top.
These sliders shine on numerous occasions. They’re perfect for game nights when you want something to fuel the cheering, party platters for casual get-togethers, or even a late-night snack that leaves you satisfied without feeling weighed down. Additionally, if you’re looking to impress, these sliders look as good as they taste, golden brown and inviting, ready to win over even the pickiest eaters. Simply put, they stand out for their flavor, texture, and the way they bring people together around the table.
Preparation Phase & Tools to Use
To create your pepperoni sliders, a few essential tools will make the process smooth and enjoyable.
-
Baking Sheet: This will be your trusty base for laying out the slider buns and helping them achieve that perfect golden crust.
-
Mixing Bowl: Use this for combining melted butter, garlic powder, and Italian seasoning to infuse your sliders with that irresistible flavor.
-
Sharp Knife: An effective tool for cutting the slider buns in half with ease, ensuring every slider remains intact.
Preparation Tip: Gather all your ingredients beforehand. Having everything in one place ensures you’re not scrambling mid-cooking, allowing you to savor every moment of the cooking process.
Ingredients for Pepperoni Sliders
-
Slider Buns: The foundation of your sliders, these soft, pillowy buns will cradle your fillings and soak up all the delicious flavors. Brioche buns work wonderfully as a sweet alternative.
-
Sliced Pepperoni: The star of the show, its spicy flavor captivates the taste buds. You can opt for turkey or vegetarian pepperoni if you want a healthier or meat-free option.
-
Mozzarella Cheese: Melty and creamy, mozzarella adds the essential gooey texture. For a twist, try provolone or a mix of cheeses.
-
Butter: This adds richness and helps create that beautiful golden-brown top. Clarified butter can be a fantastic alternative to enhance the flavor even further.
-
Garlic Powder: A sprinkle of this fragrant seasoning elevates the flavor profile significantly, making every bite a clove-infused delight.
-
Italian Seasoning: This blend of dried herbs acts as a flavor powerhouse, bringing aromatic notes of oregano, thyme, and basil to the mix.
How to Make Pepperoni Sliders
-
Preheat the Oven: Warm your kitchen by preheating the oven to 350°F (175°C). This step is crucial for achieving that delightful melt and golden crust.
-
Prepare the Slider Buns: Carefully slice your slider buns in half and place the bottom halves on a lined baking sheet. This is the base where all the magic will happen.
-
Layer the Goodness: Stack slices of pepperoni generously on the bottom halves, ensuring each slider gets a hearty portion. Next, follow with a generous layer of mozzarella cheese, inviting lusciousness into every bite.
-
Complete the Sliders: Position the top halves of the buns over the cheesy pepperoni layers, creating delightful little packages of flavor.
-
Create the Flavor Mixture: In a mixing bowl, combine melted butter, garlic powder, and Italian seasoning. Make sure the garlic powder evenly disperses through the mixture for that beautiful aroma.
-
Brush the Tops: With a pastry brush or spoon, generously apply the buttery mixture over the tops of the slider buns. This will create a mouthwatering golden finish as they bake.
-
Bake to Perfection: Slide your baking sheet into the preheated oven and set the timer for 15-20 minutes. Keep an eye on them—when the cheese is bubbly and the buns are golden brown, it’s time to take them out.
-
Serve Warm and Savor: Allow your sliders to cool for a moment before serving. Enjoy the gooey goodness while it’s still warm, and watch them disappear in an instant!
Chef’s Notes & Helpful Tips
-
Make-ahead Tips: You can assemble the sliders ahead of time, cover them well, and store them in the fridge for up to 24 hours. Just brush with the butter mixture before you bake.
-
Cooking Alternatives: Feeling adventurous? Use an air fryer for a quicker baking process! Set the air fryer to 300°F (150°C) and bake for about 10-12 minutes, checking for that golden perfection.
-
Customization Ideas: Want to mix things up? Add some sliced bell peppers for crunch or a layer of pesto for a fresh twist. You could even swap out the cheese for a spicy pepper jack slice if you’re craving extra heat.
Common Mistakes to Avoid
-
Rushing the Bake: Don’t skip the recommended bake time! Sliders need that time to get bubbly and achieve the perfect crust.
-
Overstuffing the Sliders: While it’s tempting to pile on lots of toppings, too much filling can make it hard for the bun to hold everything together.
-
Ignoring the Broil: If you want a super crispy topping, turn on the broiler for the last minute or two—just watch closely to avoid burning.
What to Serve With Pepperoni Sliders
Pair these sliders with a variety of sides for the ultimate spread:
-
Crunchy Kale Salad: The freshness of a kale salad with lemon vinaigrette provides a refreshing contrast to the richness of the sliders.
-
Roasted Vegetables: A medley of seasonal veggies adds color and health benefits to your table.
-
Classic Potato Chips: The crunch of a salty chip complements the gooey sliders perfectly, offering a delightful texture variation.
-
Dipping Sauces: Serve with marinara or ranch dressing for a fun, interactive dining experience.
-
Pickles and Olives: A platter of pickles and olives enhances the sliders’ flavors, balancing the richness with a zesty kick.
-
Fruit Salad: The sweetness of fresh fruit acts as a palate cleanser, making every bite feel light and refreshing.
Storage & Reheating Instructions
For leftovers, store any uneaten sliders in an airtight container in the fridge for up to 3 days. To freeze, wrap them tightly in plastic wrap and then in aluminum foil; they can last up to 2 months in the freezer.
To reheat, simply pop them in a preheated oven at 350°F (175°C) for about 10-15 minutes until they’re heated through. If using the microwave, heat individually, but know that this may compromise the slider’s crispiness.
Estimated Nutrition Information
Approximate values per slider:
- Calories: 220
- Protein: 10g
- Fat: 12g
- Carbohydrates: 20g
(Note: Values may vary based on ingredient choices, so adjust as necessary.)
FAQs
Can I use different meats in this recipe?
Absolutely! Feel free to swap the pepperoni for any deli meat or even a shredded rotisserie chicken for a hearty alternative.
What’s the best way to serve these sliders for a party?
Presentation is key. Arrange them on a large platter with toothpicks for easy handling. Adding a side of dipping sauces encourages guests to customize their experience!
Can I make them ahead of time?
Yes, the sliders can be assembled and stored in the fridge for up to 24 hours before baking. Just cover them well to maintain moisture.
Are these sliders kid-friendly?
Definitely! Kids love the cheesy goodness and the fun of sliders. Feel free to adjust the spice level based on their preferences.
Can I make these vegetarian?
For a vegetarian option, replace the pepperoni with your favorite veggies or meat alternatives. Sautéed mushrooms or grilled zucchini can make a delightful substitution.
As you wrap up your culinary adventure with these divine pepperoni sliders, don’t forget to relish the joy and connection that comes from sharing good food. The warmth, crunch, and gooey texture all converge into a delightful experience that lingers in memory long after the last crumb is gone. They beckon you to return, promising yet another indulgent moment of pure comfort food bliss. So roll up your sleeves, gather your loved ones, and dive into this scrumptious recipe that is sure to leave everyone craving more!
Print
Pepperoni Sliders
- Total Time: 30 minutes
- Yield: 12 servings
- Diet: None specified
Description
Warm, gooey sliders loaded with pepperoni and melted mozzarella, perfect for gatherings or movie nights.
Ingredients
- Slider Buns
- Sliced Pepperoni
- Mozzarella Cheese
- Butter
- Garlic Powder
- Italian Seasoning
Instructions
- Preheat the oven to 350°F (175°C).
- Prepare the slider buns by slicing them in half and placing the bottom halves on a lined baking sheet.
- Layer slices of pepperoni on the bottom halves, followed by mozzarella cheese.
- Complete with the top halves of the buns.
- In a mixing bowl, combine melted butter, garlic powder, and Italian seasoning.
- Brush the buttery mixture over the tops of the slider buns.
- Bake for 15-20 minutes until the cheese is bubbly and the buns are golden brown.
- Allow to cool slightly before serving and enjoy.
Notes
You can assemble these sliders ahead of time and store them in the fridge for up to 24 hours. Consider using an air fryer for a quicker option.
- Prep Time: 10 minutes
- Cook Time: 20 minutes
- Category: Appetizer
- Method: Baking
- Cuisine: American
Nutrition
- Serving Size: 1 slider
- Calories: 220
- Sugar: 2g
- Sodium: 500mg
- Fat: 12g
- Saturated Fat: 6g
- Unsaturated Fat: 4g
- Trans Fat: 0g
- Carbohydrates: 20g
- Fiber: 1g
- Protein: 10g
- Cholesterol: 30mg
Keywords: pepperoni sliders, cheesy sliders, appetizer, party food, game day snacks