
Teriyaki Meatball Rice Bowls
Introduction to Teriyaki Meatball Rice Bowls
As a busy mom, I know how challenging it can be to whip up a meal that pleases everyone. That’s why I absolutely adore these Teriyaki Meatball Rice Bowls! They’re not just a quick solution for a hectic day; they’re also bursting with flavor and nutrition. Imagine tender meatballs drizzled with sweet and savory teriyaki sauce, served over fluffy rice and vibrant broccoli. It’s a dish that brings smiles to the dinner table and makes my family feel loved. Trust me, once you try this recipe, it’ll become a staple in your home!
Why You’ll Love This Teriyaki Meatball Rice Bowls
These Teriyaki Meatball Rice Bowls are a lifesaver for busy nights! They come together in just 40 minutes, making them perfect for those evenings when time is tight. The combination of juicy meatballs and tender broccoli over rice creates a delightful harmony of flavors. Plus, they’re customizable! You can easily swap in your favorite veggies or add a spicy twist. It’s a meal that’s sure to impress without the stress!
Ingredients for Teriyaki Meatball Rice Bowls
Gathering the right ingredients is the first step to creating these delicious Teriyaki Meatball Rice Bowls. Here’s what you’ll need:
- Ground beef: The star of the show! It provides a rich flavor and juicy texture. You can also use ground turkey or chicken for a leaner option.
- Breadcrumbs: These help bind the meatballs together. If you’re looking for a gluten-free option, try using crushed gluten-free crackers or oats.
- Green onions: They add a fresh, mild onion flavor. Feel free to substitute with chives if you prefer.
- Egg: This acts as a binder, keeping the meatballs moist and fluffy. If you’re vegan, a flax egg works well too!
- Teriyaki sauce: The sweet and savory sauce that brings everything together. You can use store-bought or make your own for a personal touch.
- Cooked rice: A fluffy base for your bowls. White, brown, or even cauliflower rice can be used for a low-carb option.
- Broccoli florets: These add a pop of color and nutrition. You can swap them for other veggies like bell peppers or snap peas.
- Sesame seeds: A delightful garnish that adds a nutty crunch. Toast them lightly for extra flavor!
- Salt and pepper: Essential for seasoning. Adjust to your taste preferences.
For exact measurements, check the bottom of the article where you can find everything listed for easy printing. Happy cooking!
How to Make Teriyaki Meatball Rice Bowls
Now that you have all your ingredients ready, let’s dive into making these scrumptious Teriyaki Meatball Rice Bowls! Follow these simple steps, and you’ll have a delightful meal on the table in no time.
Step 1: Preheat the Oven
First things first, preheat your oven to 400°F (200°C). Preheating is crucial because it ensures that your meatballs cook evenly and develop a lovely golden crust. Trust me, you want that perfect texture!
Step 2: Prepare the Meatball Mixture
In a large mixing bowl, combine the ground beef, breadcrumbs, chopped green onions, egg, teriyaki sauce, salt, and pepper. Use your hands to mix everything together gently. Be careful not to overmix, as this can make the meatballs tough. Just blend until everything is well combined, and you’re good to go!
Step 3: Form the Meatballs
Now it’s time to shape your meatballs! Grab a small handful of the mixture and roll it into a ball about the size of a golf ball. This size helps them cook evenly. Place the meatballs on a baking sheet lined with parchment paper, leaving some space between each one. This way, they won’t stick together while baking.
Step 4: Bake the Meatballs
Pop the baking sheet into your preheated oven and bake the meatballs for 20-25 minutes. To check for doneness, use a meat thermometer; the internal temperature should reach 160°F (70°C). If you don’t have a thermometer, cut one open to ensure it’s no longer pink inside. Your kitchen will smell heavenly during this time!
Step 5: Steam the Broccoli
While the meatballs are baking, it’s the perfect time to steam your broccoli. Place the florets in a steamer basket over boiling water. Cover and steam for about 5-7 minutes until they’re bright green and tender but still crisp. This method keeps the nutrients intact and gives you that vibrant color!
Step 6: Assemble the Bowls
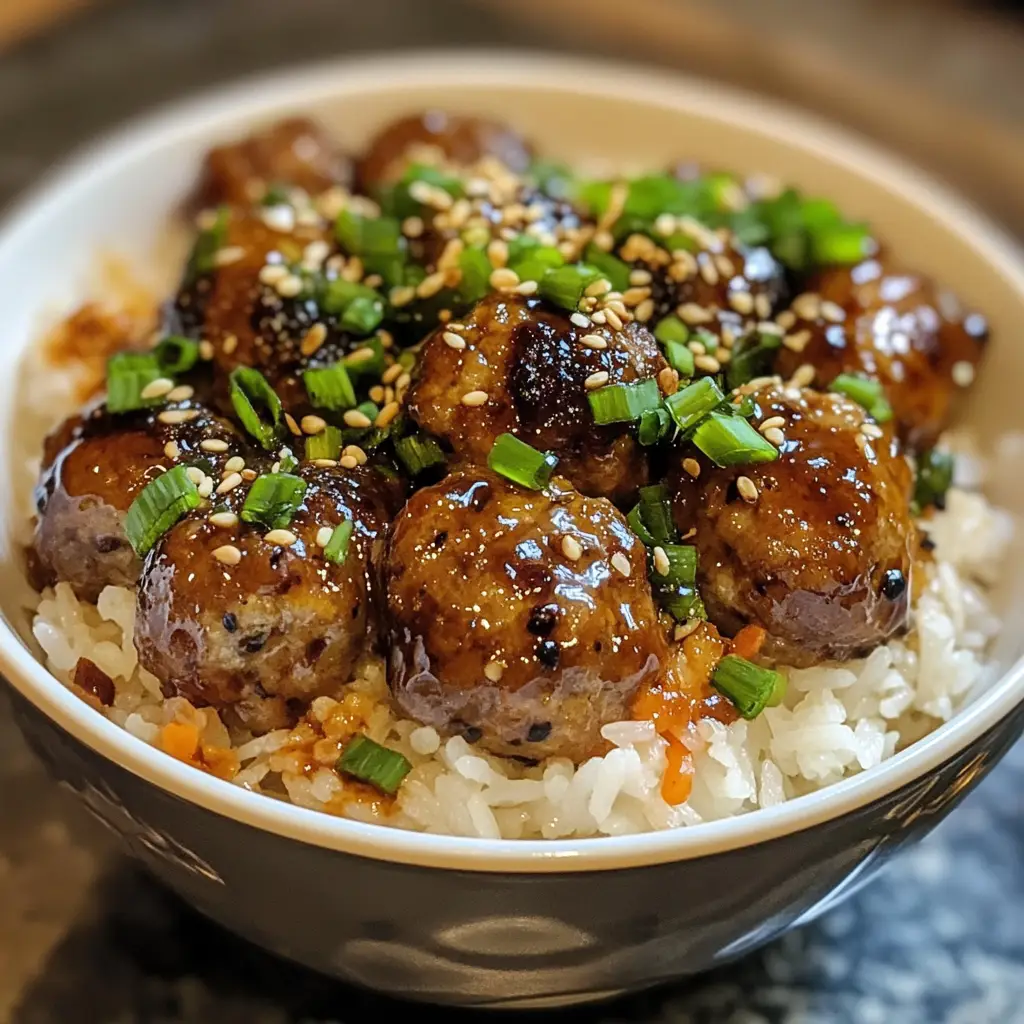
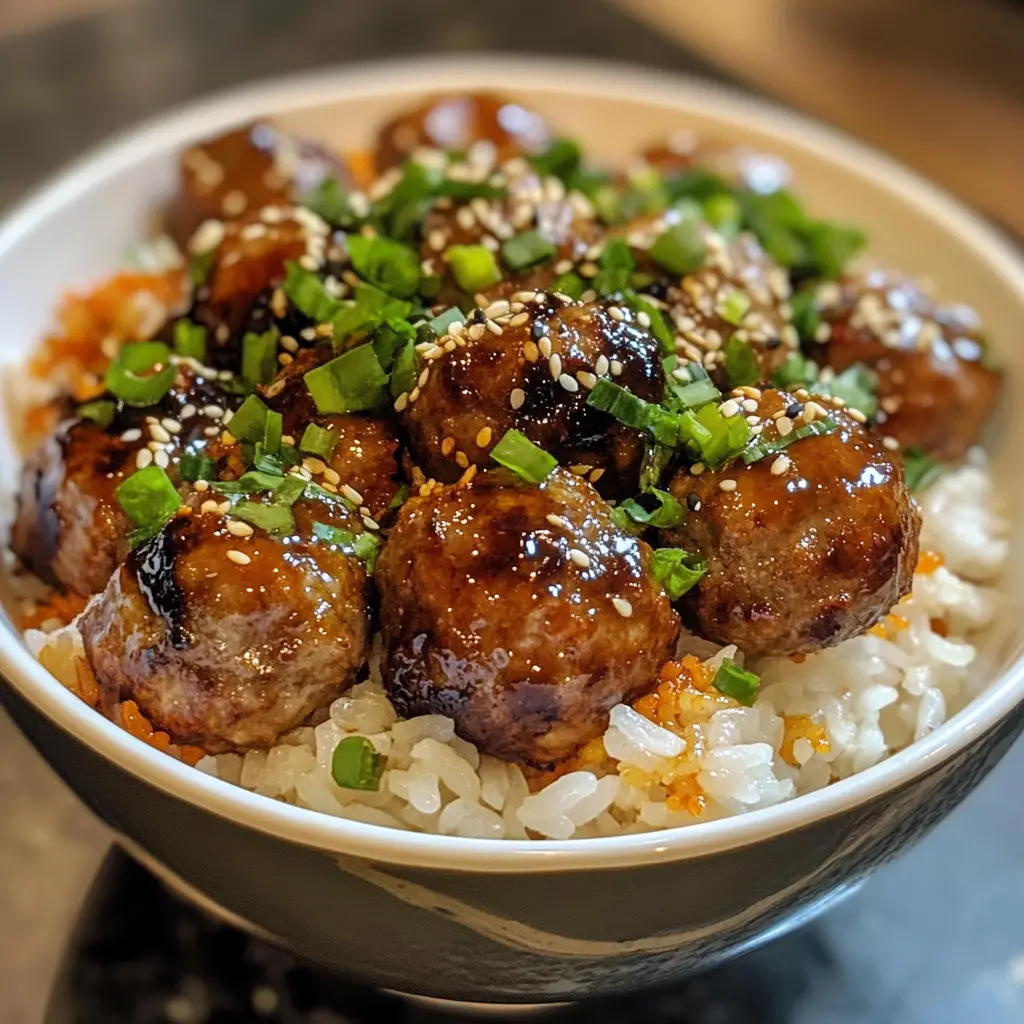
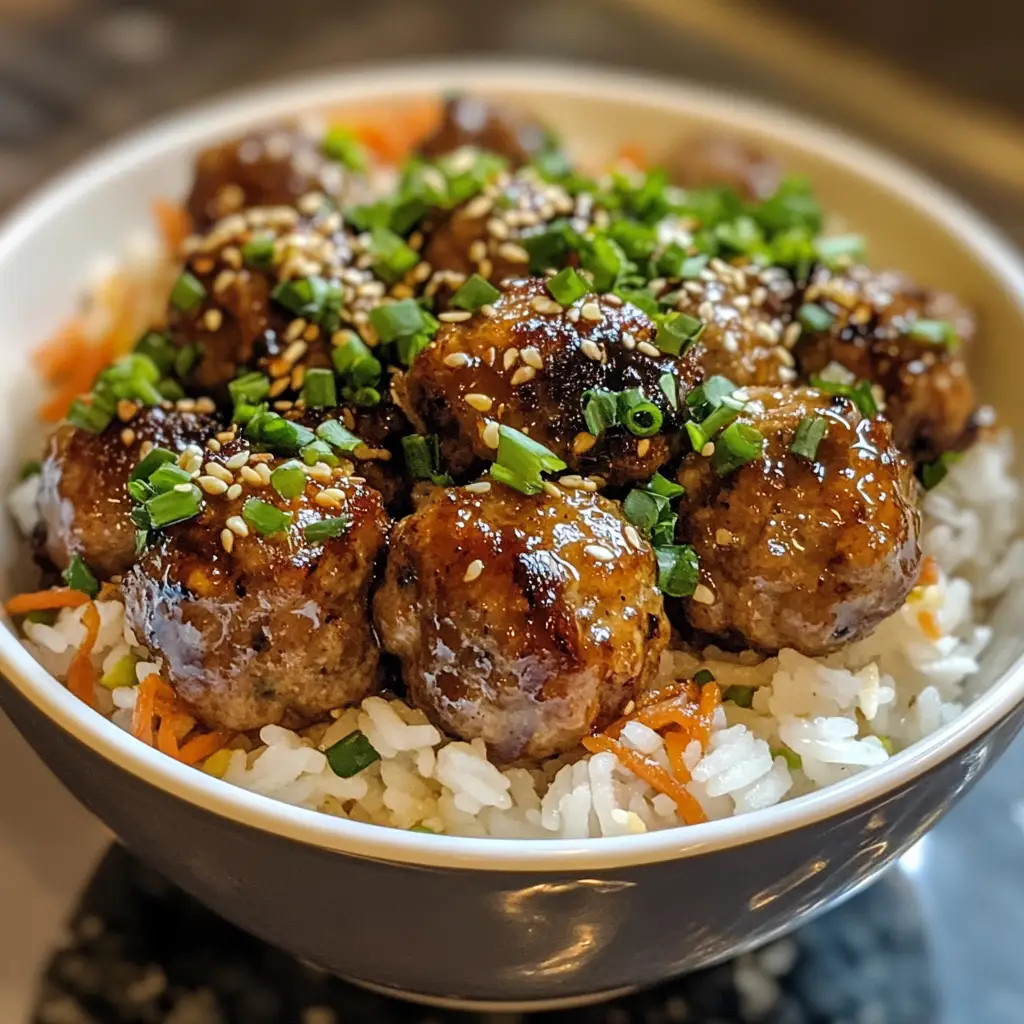
Now comes the fun part—assembling your Teriyaki Meatball Rice Bowls! Start with a generous scoop of cooked rice at the bottom of each bowl. Top it with a few meatballs, then add the steamed broccoli. Drizzle some extra teriyaki sauce over the top and sprinkle with sesame seeds for that extra crunch. Voilà! Dinner is served!
Tips for Success
- Use a cookie scoop for evenly sized meatballs; it makes the process quicker!
- Don’t skip the preheating step; it’s key for that perfect meatball texture.
- Experiment with different veggies; bell peppers and snap peas are great additions.
- Make a double batch and freeze half for a quick meal later.
- For extra flavor, marinate the meatball mixture in teriyaki sauce for 30 minutes before baking.
Equipment Needed
- Baking sheet: A standard sheet works, but a rimmed one prevents spills.
- Parchment paper: This makes cleanup a breeze; aluminum foil is a good alternative.
- Mixing bowl: Any large bowl will do; a stand mixer can save time.
- Steamer basket: A microwave-safe bowl with a lid can also steam veggies.
- Meat thermometer: Essential for checking doneness; a knife works in a pinch.
Variations of Teriyaki Meatball Rice Bowls
- Turkey Meatballs: Swap ground beef for ground turkey for a leaner option that’s just as delicious.
- Vegetarian Version: Use plant-based meat alternatives or chickpeas for a hearty, meat-free meal.
- Spicy Kick: Add sriracha or red pepper flakes to the meatball mixture for a fiery twist.
- Different Sauces: Experiment with different sauces like sweet chili or hoisin for a unique flavor profile.
- Grain Alternatives: Serve over quinoa, farro, or even zoodles for a gluten-free or low-carb option.
Serving Suggestions for Teriyaki Meatball Rice Bowls
- Side Salad: A crisp cucumber and carrot salad pairs beautifully with the meatballs.
- Refreshing Drink: Serve with iced green tea or a light lemonade for a refreshing touch.
- Presentation: Garnish with extra green onions and a drizzle of teriyaki sauce for a pop of color.
- Chopsticks: Use chopsticks for a fun dining experience that adds an authentic touch!
FAQs about Teriyaki Meatball Rice Bowls
Can I make Teriyaki Meatball Rice Bowls ahead of time?
Absolutely! You can prepare the meatballs in advance and store them in the fridge for up to 24 hours. Just bake them when you’re ready to serve. They also freeze well, so feel free to make a double batch for quick meals later!
What can I substitute for ground beef in this recipe?
If you’re looking for alternatives, ground turkey or chicken works wonderfully. For a vegetarian option, try using plant-based meat or even chickpeas mashed with breadcrumbs. The flavor will still shine through!
How can I make these Teriyaki Meatball Rice Bowls spicier?
For a spicy kick, add sriracha or red pepper flakes to the meatball mixture. You can also drizzle some spicy teriyaki sauce on top before serving. It’s a great way to heat things up!
Can I use other vegetables in the rice bowls?
Definitely! Feel free to mix in your favorite veggies. Bell peppers, snap peas, or even carrots can add a delightful crunch and color to your bowls. The more, the merrier!
What type of rice is best for these bowls?
While white rice is a classic choice, brown rice adds a nutty flavor and extra fiber. You can also use cauliflower rice for a low-carb option. Choose what suits your taste and dietary needs!
Final Thoughts
Creating these Teriyaki Meatball Rice Bowls is more than just cooking; it’s about bringing joy to the dinner table. The delightful combination of flavors and textures makes every bite a celebration. I love how this recipe allows for creativity, whether you’re adding your favorite veggies or experimenting with spices. Plus, it’s a fantastic way to gather the family around, sharing stories and laughter over a delicious meal. Trust me, once you make these bowls, they’ll become a cherished part of your family’s culinary adventures. Enjoy every moment and every bite!
PrintTeriyaki Meatball Rice Bowls You Can’t Resist!
- Total Time: 40 minutes
- Yield: 4 servings 1x
- Diet: Gluten Free
Description
Delicious teriyaki meatball rice bowls that are easy to make and packed with flavor.
Ingredients
- 1 lb ground beef
- 1/2 cup breadcrumbs
- 1/4 cup green onions, chopped
- 1 egg
- 1/4 cup teriyaki sauce
- 2 cups cooked rice
- 1 cup broccoli florets
- 1/4 cup sesame seeds
- Salt and pepper to taste
Instructions
- Preheat the oven to 400°F (200°C).
- In a bowl, mix ground beef, breadcrumbs, green onions, egg, teriyaki sauce, salt, and pepper.
- Form the mixture into meatballs and place them on a baking sheet.
- Bake for 20-25 minutes or until cooked through.
- While the meatballs are baking, steam the broccoli until tender.
- Serve the meatballs over cooked rice, topped with steamed broccoli and sesame seeds.
Notes
- Feel free to add other vegetables like bell peppers or carrots.
- For a spicier kick, add some sriracha to the teriyaki sauce.
- These meatballs can be made ahead and frozen for later use.
- Prep Time: 15 minutes
- Cook Time: 25 minutes
- Category: Main Dish
- Method: Baking
- Cuisine: Japanese
Nutrition
- Serving Size: 1 bowl
- Calories: 450
- Sugar: 5g
- Sodium: 600mg
- Fat: 20g
- Saturated Fat: 8g
- Unsaturated Fat: 10g
- Trans Fat: 0g
- Carbohydrates: 50g
- Fiber: 2g
- Protein: 25g
- Cholesterol: 70mg
Keywords: Teriyaki, Meatballs, Rice Bowls, Japanese Cuisine