
Olive Garden Breadsticks
A warm, buttery aroma wafts through the air as you take a moment to savor the essence of freshly baked Olive Garden breadsticks. The soft, pillowy texture invites you in, and as you pull one apart, the gentle stretch reveals an enticing interior that promises comfort in every bite. Each breadstick cradles a perfect balance of warmth and crunch, with a glossy finish that beckons for a slather of rich, garlic-infused butter. Visions of dipping these dreamy creations into marinara sauce or savoring them with creamy alfredo dance in your mind, making your stomach rumble in anticipation. This isn’t just a recipe; it’s a ticket to culinary bliss that transports you straight to the family-friendly ambiance of your favorite Italian restaurant.
Imagine the thrill of gathering around the dinner table, each person tearing off a piece of bread, their faces lighting up as they experience that first blissful bite. The subtle hint of Parmesan, the fragrant garlic, and the comforting touch of butter meld together harmoniously, creating a flavor sensation that’s both nostalgic and utterly satisfying. As the breadsticks disappear from the plate, the laughter and chatter become the soundtrack to an evening filled with warmth, love, and a shared appreciation for simple, delicious food. With this homemade recipe, you’ll unveil the secrets behind that Olive Garden magic, igniting joy not only for your taste buds but for your loved ones as well.
Why You’ll Love This Olive Garden Breadsticks Recipe
These Olive Garden breadsticks hold a special place in the hearts of many, and it’s not just because of their tantalizing flavor. They evoke memories of evenings spent enjoying hearty Italian meals with family and friends, creating a comforting backdrop that makes every weeknight feel special. Not only do they taste incredible, but their alluring aroma fills your home, making it the perfect gathering spot for meals and conversations.
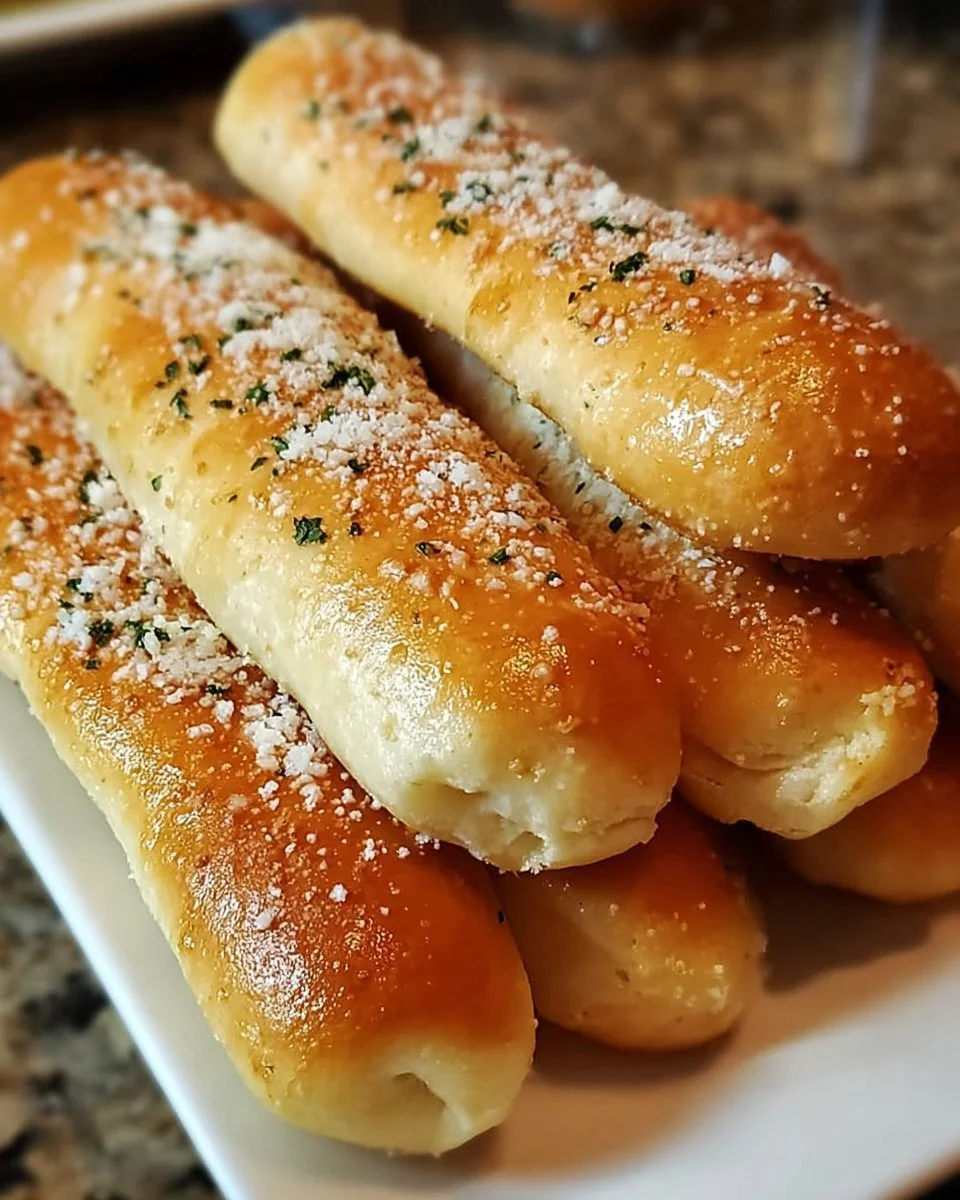
With a golden-brown exterior that crumbles delightfully with each bite and an incredibly soft inside, these breadsticks stand out from the rest. The enchanted combination of melted butter, savory garlic, and a sprinkle of Parmesan cheese dances across your palate, ensuring that no two bites ever feel the same. Whether you serve them as an appetizer, with your main course, or simply on their own for a snack, you’ll find that they elevate any meal and steal the show.
Preparation Phase & Tools to Use
Before embarking on this dazzling culinary journey, gather a few essential tools that will make your breadstick-making process seamless and enjoyable.
-
Mixing Bowls: A large mixing bowl is perfect for bringing together your ingredients, allowing room for expansion as your dough rises. A small bowl will come in handy for yeast activation.
-
Measuring Cups and Spoons: Precision matters when it comes to baking! Accurate measurements ensure your yeast activates properly and that your dough achieves the perfect consistency.
-
Baking Sheet: A sturdy baking sheet holds the weight of your breadsticks as they rise and bake, ensuring even heat distribution for golden perfection.
-
Parchment Paper: Lining your baking sheet with parchment paper prevents sticking and makes clean-up a breeze.
-
Rolling Pin: While not strictly necessary, a rolling pin can help evenly shape the dough, ensuring consistent breadstick sizes.
-
Kitchen Towel: Use a clean kitchen towel to cover your dough during rising, creating a cozy environment for it to puff up and shine.
In preparation, remember to:
- Gather all your ingredients before starting to maintain organization.
- Let your water warm to the right temperature—too hot can kill the yeast, while too cold can delay rising.
Ingredients for Olive Garden Breadsticks
The magic of these beloved breadsticks lies in their simple yet extraordinary ingredients. Each ingredient plays a vital role in crafting that irresistible flavor and texture:
- Yeast: 2 1/4 teaspoons of active dry yeast promotes fluffy, airy breadsticks. Instant yeast may be substituted, but adjustments in the rising time might occur.
- Sugar: 1 teaspoon sugar helps activate the yeast, contributing to the rise and a hint of sweetness.
- Warm Water: 1 cup of warm water (between 100°F to 110°F) is crucial for the yeast to flourish.
- All-Purpose Flour: 2 1/2 to 3 cups of all-purpose flour provide the structure needed for a perfect breadstick. You may use bread flour for added chewiness.
- Salt: 1 teaspoon salt enhances the flavor and controls yeast growth.
- Unsalted Butter: 1/4 cup melted unsalted butter offers richness. For a vegan option, olive oil can substitute.
- Garlic Powder: 1/4 teaspoon garlic powder infuses a lovely garlic taste throughout the breadsticks. Fresh garlic can be used for more punch if desired.
- Parmesan Cheese: 1/4 cup grated Parmesan cheese adds savory depth.
- Melted Garlic Butter: A delightful bath of 1/2 cup melted butter with 2 cloves of minced garlic provides a luscious finish.
How to Make Olive Garden Breadsticks
Creating these heavenly breadsticks requires a few simple steps. Let’s venture into the kitchen and knead our way to glory.
-
Begin by combining 2 1/4 teaspoons of yeast and 1 teaspoon sugar in a small bowl, pouring in 1 cup of warm water. Let this mixture sit undisturbed for 5-10 minutes until frothy—this indicates that your yeast is happily activated.
-
In a large mixing bowl, sift together 2 cups of flour and 1 teaspoon of salt. This step aerates the flour, ensuring that your breadsticks achieve the perfect texture.
-
Pour the frothy yeast mixture along with 1/4 cup of melted butter into the flour mixture. Stir until everything combines into a shaggy mixture.
-
Now, channel your inner bread-maker! Turn the dough onto a floured surface and knead gently for about 5 minutes until it becomes smooth and elastic. If the dough sticks to your hands too much, sprinkle in additional flour as needed.
-
Place the kneaded dough in a greased bowl, covering it with a kitchen towel. Let it rise until it doubles in size—this typically takes about 1 hour depending on your kitchen’s warmth.
-
Preheat your oven to 400°F (200°C) and get ready for awesome aromas filling your space!
-
Once risen, turn the dough onto your floured surface and roll it out gently. Cut it into strips about 1 inch wide, making sure they’re as uniform as possible for even baking.
-
Arrange the strips on a baking sheet lined with parchment paper, giving them space to expand. Cover and let rise for another 30 minutes; this second rise is key for that light, airy texture we all crave.
-
Bake your breadsticks in the preheated oven for 10-12 minutes until they turn a beautiful golden brown, filling your kitchen with an irresistibly warm embrace.
-
When they come out of the oven, brush the warm breadsticks with melted garlic butter and top them with a sprinkle of grated Parmesan cheese. Now, it’s time to enjoy your creation!
Chef’s Notes & Helpful Tips
-
Make-Ahead Tips: You can prepare the breadsticks a day in advance. Let the dough rise, then roll and shape the sticks. Place them on a baking sheet and cover them tightly in the fridge. When ready to cook, let them rise for about 30 minutes at room temperature before baking.
-
Cooking Alternatives: If you’re short on time, try cooking these in an air fryer! Set it to 380°F (193°C) and cook for about 8-10 minutes, keeping an eye on the golden brown color.
-
Customization Ideas: Spice up your breadsticks by adding herbs like rosemary or oregano to the dough. You can also experiment with different cheeses or even stuff them with mozzarella for a gooey surprise.
Common Mistakes to Avoid
Baking can be tricky, but here are some common pitfalls to sidestep:
-
Overworking the Dough: Kneading should be gentle; over-kneading can lead to tough breadsticks. Just knead until smooth.
-
Using Hot Water: Ensure your water temperature is right—too hot will kill the yeast and prevent it from rising. Always check with your finger if it’s just warm, not hot.
-
Skipping the Rise Time: Don’t rush! Allow adequate time for the breadsticks to rise. Patience leads to light and fluffy results.
What to Serve With Olive Garden Breadsticks
These delightful breadsticks pair beautifully with an array of dishes, enhancing your meal experience. Consider these terrific options:
-
Marinara Sauce: An obvious choice! Pairing with savory marinara elevates the casual experience, offering a delightful dip for each bite.
-
Fettuccine Alfredo: The creamy, rich alfredo acts as a perfect counterpoint to the fluffiness of the breadsticks, providing a comforting dining experience.
-
Pasta E Fagioli: This hearty soup complements the breadsticks beautifully, allowing you to soak up the deliciously seasoned broth.
-
Salad with Italian Dressing: A light salad balances the richness of the breadsticks, offering a refreshing contrast.
-
Chicken Parmigiana: Serve alongside this iconic dish; the breadsticks enhance the Italian spirit while providing a textural balance.
-
Zuppa Toscana: The creamy and savory nature of this soup marries wonderfully with the sticks, creating a cozy meal environment.
-
Caprese Salad: Fresh mozzarella, tomatoes, and basil make for a vibrant side that pairs perfectly with the breadsticks.
-
Garlic Butter Dipping Sauce: For those who can’t get enough garlic, serve a side of infused garlic butter for an extra hit of flavor.
Storage & Reheating Instructions
To store any leftover breadsticks, place them in an airtight container in the fridge for up to 3 days. For longer preservation, freeze them for up to 3 months. To reheat, preheat your oven to 350°F (175°C) and warm them for about 10 minutes until they regain their lusciousness, or pop them in the microwave for about 15-20 seconds for a quicker option.
Estimated Nutrition Information
While the temptation of devouring these breadsticks is immense, moderation is key! Below is an approximate nutrition profile per breadstick:
- Calories: 150-200
- Total Fat: 7g
- Saturated Fat: 4g
- Carbohydrates: 20g
- Fiber: 0g
- Sugars: 1g
- Protein: 3g
(Note: Actual values may vary based on ingredient choices and portion sizes.)
FAQs
1. Can I use whole wheat flour instead of all-purpose flour?
Yes, you can substitute whole wheat flour, but it may yield denser breadsticks. Consider blending whole wheat with all-purpose flour for a balanced texture.
2. How can I make these breadsticks vegan?
Substitute unsalted butter with olive oil and omit the Parmesan or replace it with a plant-based cheese alternative.
3. Why did my breadsticks turn out hard?
Hard breadsticks may result from overbaking or not kneading enough. Ensure you maintain the right baking time and texture when kneading.
4. Can I double the recipe?
Absolutely! Just ensure your mixing bowl is large enough to accommodate. Remember, the rising time may extend slightly for doubled dough.
5. What can I do with leftover breadsticks?
Transform leftovers into croutons by cutting them into small cubes and toasting them in the oven with olive oil and seasoning for added crunch atop salads or soups.
Conclusion
Every bite of these Olive Garden breadsticks embraces warmth, comfort, and a distinct culinary magic that brings people together. Whether you’re hosting a dinner party, indulging in a cozy family dinner, or simply treating yourself, this recipe promises to deliver the satisfaction we all crave. So roll up your sleeves, gather your loved ones, and prepare to embark on a delightful adventure in your kitchen. You’ll soon find that homemade breadsticks become treasured staples in your household, creating memories with each savory bite.
Print
Olive Garden Breadsticks
- Total Time: 87 minutes
- Yield: 12 breadsticks 1x
- Diet: Vegetarian
Description
Deliciously soft and buttery breadsticks inspired by Olive Garden, perfect for any meal or gathering.
Ingredients
- 2 1/4 teaspoons active dry yeast
- 1 teaspoon sugar
- 1 cup warm water (100°F to 110°F)
- 2 1/2 to 3 cups all-purpose flour
- 1 teaspoon salt
- 1/4 cup unsalted butter, melted
- 1/4 teaspoon garlic powder
- 1/4 cup grated Parmesan cheese
- 1/2 cup melted butter with 2 cloves minced garlic for brushing
Instructions
- Combine yeast and sugar in a small bowl, adding warm water; let sit for 5-10 minutes until frothy.
- Sift together flour and salt in a large bowl.
- Add yeast mixture and melted butter to flour mixture; stir until combined.
- Knead the dough on a floured surface for about 5 minutes until smooth and elastic.
- Place dough in a greased bowl, cover with a towel, and let rise for about 1 hour until doubled in size.
- Preheat the oven to 400°F (200°C).
- Roll out the dough and cut into strips about 1 inch wide.
- Arrange on a parchment-lined baking sheet, cover, and let rise for another 30 minutes.
- Bake for 10-12 minutes until golden brown.
- Brush warm breadsticks with melted garlic butter and sprinkle with Parmesan cheese.
Notes
For a vegan option, substitute unsalted butter with olive oil and omit or replace Parmesan cheese with plant-based alternatives. Feel free to customize with herbs for added flavor.
- Prep Time: 15 minutes
- Cook Time: 12 minutes
- Category: Side Dish
- Method: Baking
- Cuisine: Italian
Nutrition
- Serving Size: 1 breadstick
- Calories: 150
- Sugar: 1g
- Sodium: 200mg
- Fat: 7g
- Saturated Fat: 4g
- Unsaturated Fat: 2g
- Trans Fat: 0g
- Carbohydrates: 20g
- Fiber: 0g
- Protein: 3g
- Cholesterol: 15mg
Keywords: breadsticks, Olive Garden, Italian, homemade bread, comfort food, baking