
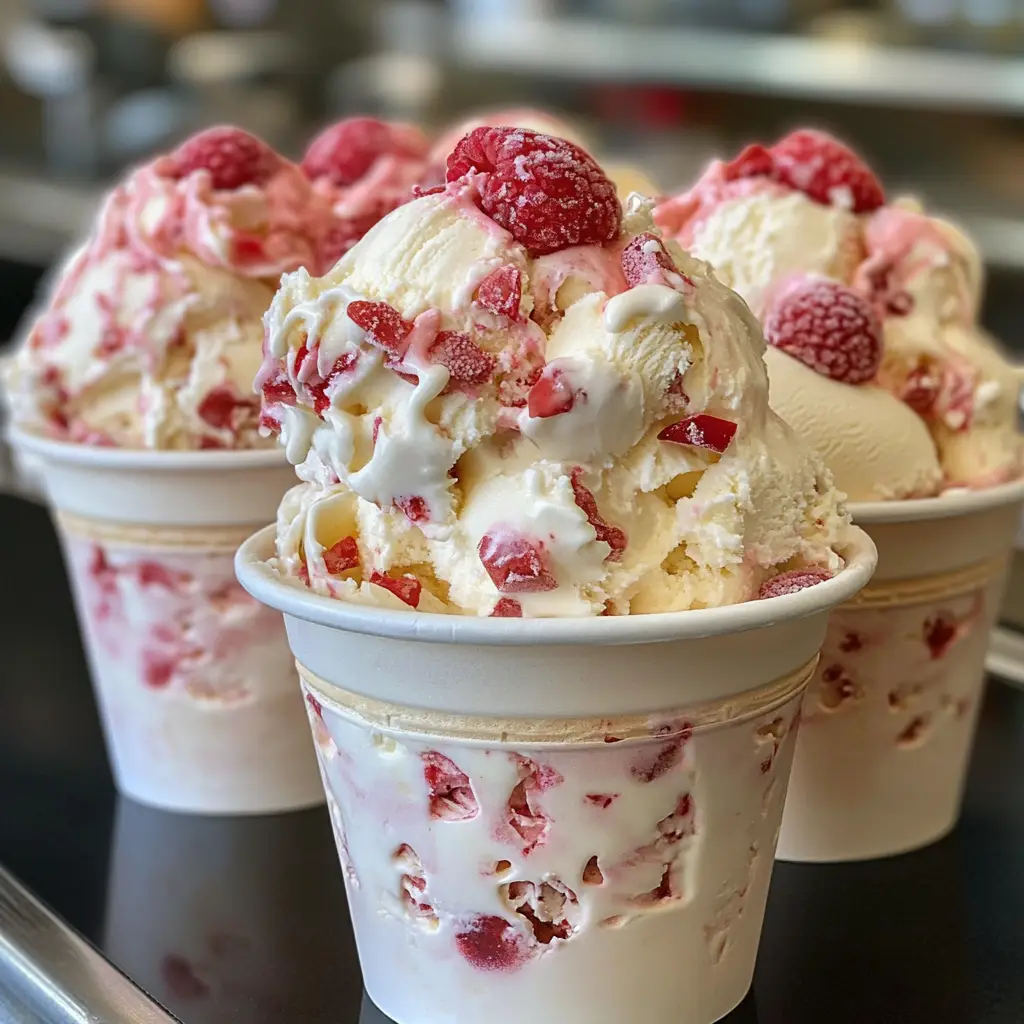
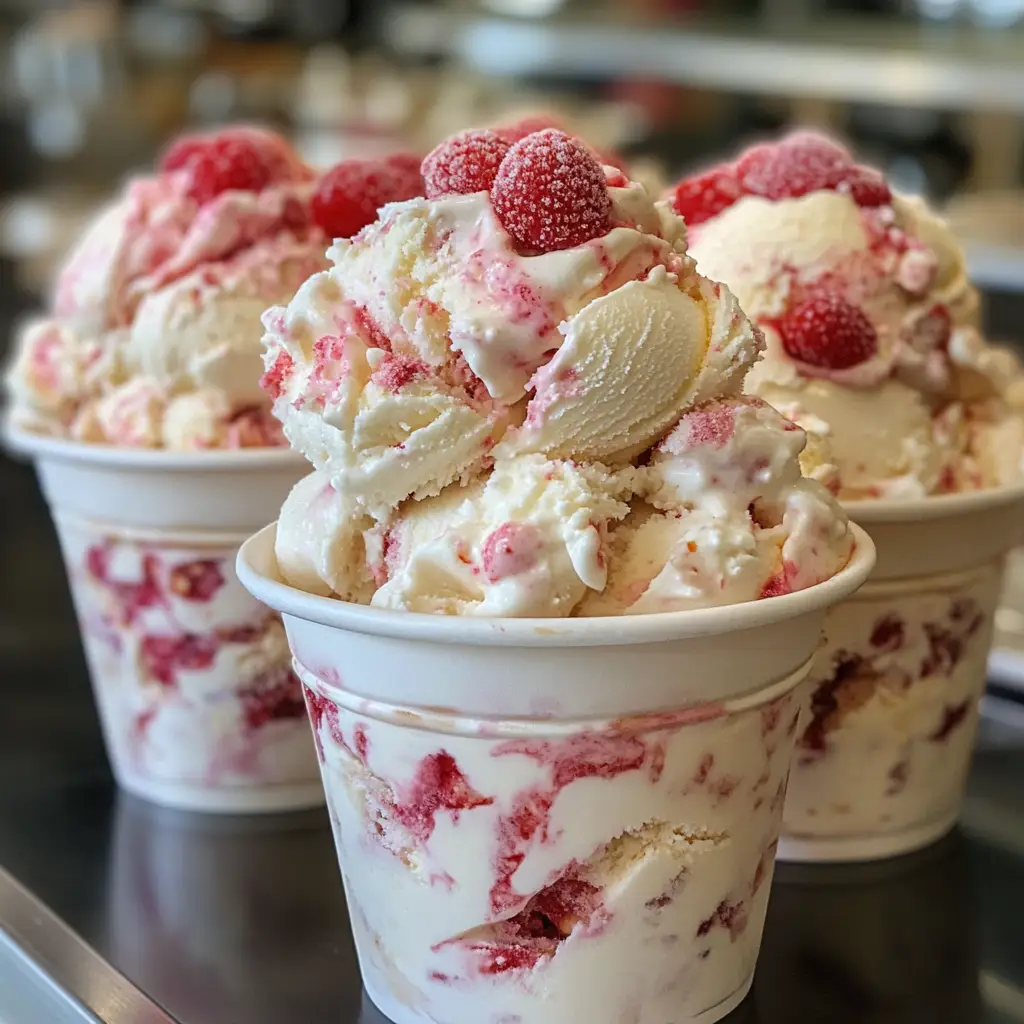
No-Churn Ice Cream Cups
Introduction to No-Churn Ice Cream Cups
As a busy mom, I know how precious time can be, especially when it comes to whipping up a sweet treat. That’s why I absolutely adore these No-Churn Ice Cream Cups! They’re a delightful solution for those hot summer days or any occasion when you want to impress your loved ones without spending hours in the kitchen. With just a few simple ingredients and no ice cream maker required, you can create a creamy, dreamy dessert that everyone will love. Trust me, these cups are a game-changer for quick, delicious indulgence!
Why You’ll Love This No-Churn Ice Cream Cups
These No-Churn Ice Cream Cups are a lifesaver for busy days! They come together in just 15 minutes, making them perfect for last-minute gatherings or a sweet treat after dinner. The best part? You can customize them with your favorite mix-ins, so everyone gets a flavor they love. Plus, there’s no need for fancy equipment, just your trusty mixing bowl and a whisk. It’s a win-win for busy moms like us!
Ingredients for No-Churn Ice Cream Cups
Gathering the right ingredients is the first step to creating your No-Churn Ice Cream Cups. Here’s what you’ll need:
- Heavy Cream: This is the star of the show! It gives the ice cream its rich, creamy texture. Look for a high-fat content for the best results.
- Sweetened Condensed Milk: This sweet, thick milk adds sweetness and creaminess without the need for extra sugar. It’s a must-have for this recipe!
- Vanilla Extract: A splash of vanilla enhances the flavor, making your ice cream taste like a scoop of happiness. Use pure vanilla for the best taste.
- Chocolate Chips (optional): These little morsels add a delightful crunch and chocolatey goodness. You can use dark, milk, or even white chocolate chips!
- Crushed Cookies (optional): Want to add some texture? Crushed cookies like Oreos or graham crackers can elevate your ice cream cups to a whole new level.
Feel free to get creative! You can swap in your favorite mix-ins or even try different extracts like almond or mint. For exact quantities, check the bottom of the article where you can find everything available for printing.
How to Make No-Churn Ice Cream Cups
Making No-Churn Ice Cream Cups is a breeze! Follow these simple steps, and you’ll have a delicious dessert ready to freeze in no time. Let’s dive in!
Step 1: Whip the Heavy Cream
Start by pouring the heavy cream into a large mixing bowl. Using a hand mixer or a whisk, whip the cream until stiff peaks form. This means the cream should hold its shape when you lift the whisk. This step is crucial for achieving that light, airy texture we all love in ice cream. Trust me, it’s worth the effort!
Step 2: Mix Condensed Milk and Vanilla
In another bowl, combine the sweetened condensed milk and vanilla extract. Stir them together until they’re well blended. This mixture will add sweetness and flavor to your ice cream. The creamy texture of the condensed milk is what makes this recipe so easy and delicious!
Step 3: Fold in the Whipped Cream
Now, it’s time to bring the two mixtures together. Gently fold the whipped cream into the condensed milk mixture. Use a spatula and a gentle motion to combine them. Be careful not to deflate the whipped cream; we want to keep that fluffy texture intact. This is where the magic happens!
Step 4: Add Mix-Ins
If you’re feeling adventurous, now’s the time to add your optional mix-ins! Fold in chocolate chips or crushed cookies gently. This adds a delightful crunch and extra flavor to your No-Churn Ice Cream Cups. You can get creative here—think about your favorite treats!
Step 5: Freeze the Mixture
Pour the mixture into cups or a container. Make sure to leave a little space at the top, as it will expand while freezing. Cover it tightly and place it in the freezer for at least 4 hours, or until it’s firm. Patience is key here, but the wait will be worth it!
Step 6: Serve and Enjoy
When you’re ready to serve, take the ice cream cups out of the freezer. Let them sit at room temperature for a few minutes to soften slightly. This makes scooping much easier! Then, dig in and enjoy your homemade No-Churn Ice Cream Cups. They’re sure to be a hit!
Tips for Success
- Use cold heavy cream for better whipping results.
- Don’t rush the folding process; be gentle to keep the mixture airy.
- Experiment with different flavors of extracts for a unique twist.
- For a creamier texture, let the ice cream sit in the fridge for 10 minutes before serving.
- Label your containers with the date to keep track of freshness.

Equipment Needed
- Mixing Bowls: A large bowl for whipping cream and a smaller one for mixing.
- Hand Mixer or Whisk: A hand mixer makes it easier, but a whisk works just fine if you’re up for a workout!
- Spatula: Essential for folding ingredients together without deflating the whipped cream.
- Cups or Container: Use any cups or a freezer-safe container to hold your ice cream.
Variations for No-Churn Ice Cream Cups
- Fruit Swirl: Add pureed fruits like strawberries or mangoes for a refreshing twist. Just swirl them in before freezing!
- Nutty Delight: Fold in chopped nuts like almonds or pecans for a crunchy texture and added flavor.
- Chocolate Lovers: Mix in cocoa powder or chocolate syrup for a rich chocolate ice cream experience.
- Minty Fresh: Substitute vanilla extract with peppermint extract for a cool, minty flavor that’s perfect for summer.
- Dairy-Free Option: Use coconut cream and a dairy-free sweetened condensed milk for a delicious vegan version.
Serving Suggestions for No-Churn Ice Cream Cups
- Top with fresh berries for a burst of color and flavor.
- Drizzle with chocolate or caramel sauce for an extra indulgent touch.
- Serve alongside warm brownies or cookies for a delightful dessert duo.
- Garnish with mint leaves for a refreshing finish.
- Pair with iced coffee or a fruity lemonade for a perfect summer treat.
FAQs about No-Churn Ice Cream Cups
Can I use a different type of cream?
Absolutely! While heavy cream gives the best texture, you can use whipping cream as a substitute. Just ensure it has a high-fat content for that creamy goodness.
How long do No-Churn Ice Cream Cups last in the freezer?
These delightful treats can last up to two weeks in the freezer. Just make sure they’re stored in an airtight container to keep them fresh!
Can I make No-Churn Ice Cream Cups without sweetened condensed milk?
While sweetened condensed milk is key for sweetness and creaminess, you can try using a homemade version or a dairy-free alternative. Just keep in mind that the texture may vary.
What are some good mix-ins for No-Churn Ice Cream Cups?
The options are endless! You can add fruits, nuts, chocolate chips, or even cookie crumbles. Get creative and use your favorite treats to make it your own!
Can I make this recipe dairy-free?
Yes! You can use coconut cream and dairy-free sweetened condensed milk for a delicious vegan version. It’s a great way to enjoy this treat without the dairy!
Final Thoughts
Creating No-Churn Ice Cream Cups is not just about making a dessert; it’s about crafting sweet memories with your loved ones. The joy of watching their faces light up as they dig into these creamy delights is priceless. Plus, the simplicity of this recipe means you can whip it up even on the busiest days. Whether it’s a hot summer afternoon or a cozy family gathering, these ice cream cups are sure to bring smiles all around. So, grab your ingredients and let the fun begin—your taste buds will thank you!
PrintNo-Churn Ice Cream Cups: Easy, Delicious Treats Awaits!
- Total Time: 4 hours 15 minutes
- Yield: 4 servings 1x
- Diet: Vegetarian
Description
No-Churn Ice Cream Cups are a simple and delightful dessert that requires no ice cream maker. Perfect for hot days or any occasion!
Ingredients
- 2 cups heavy cream
- 1 cup sweetened condensed milk
- 1 teaspoon vanilla extract
- 1/2 cup chocolate chips (optional)
- 1/2 cup crushed cookies (optional)
Instructions
- In a large bowl, whip the heavy cream until stiff peaks form.
- In another bowl, mix the sweetened condensed milk and vanilla extract until well combined.
- Gently fold the whipped cream into the condensed milk mixture until fully incorporated.
- Add chocolate chips or crushed cookies if desired and fold gently.
- Pour the mixture into cups or a container and freeze for at least 4 hours or until firm.
- Serve and enjoy your delicious no-churn ice cream cups!
Notes
- Feel free to customize with your favorite mix-ins like fruits or nuts.
- Store any leftovers in the freezer for up to 2 weeks.
- Let the ice cream sit at room temperature for a few minutes before serving for easier scooping.
- Prep Time: 15 minutes
- Cook Time: 0 minutes
- Category: Dessert
- Method: No-Churn
- Cuisine: American
Nutrition
- Serving Size: 1 cup
- Calories: 300
- Sugar: 20g
- Sodium: 50mg
- Fat: 20g
- Saturated Fat: 12g
- Unsaturated Fat: 8g
- Trans Fat: 0g
- Carbohydrates: 30g
- Fiber: 1g
- Protein: 3g
- Cholesterol: 70mg
Keywords: No-Churn Ice Cream Cups, Easy Ice Cream Recipe, Summer Treats