
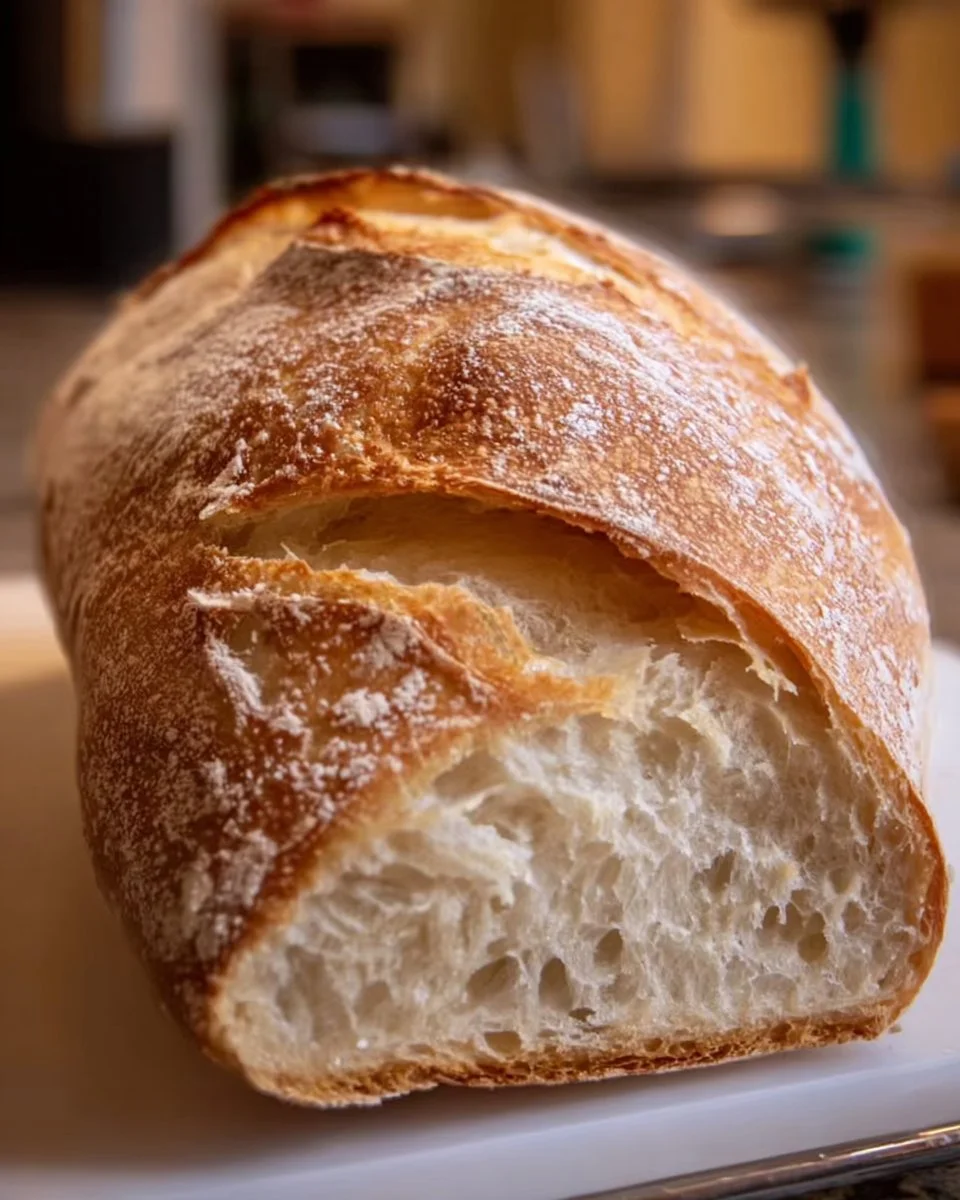
Homemade Sourdough Bread in a Loaf Pan
As you enter your kitchen, the warm embrace of the aroma of freshly baked sourdough bread wraps around you like a cozy shawl. Each step toward that rustic loaf evokes an anticipation that tickles your senses. You can almost hear the soft crackle of the crust as it forms, the golden-brown hue beckoning you closer. With each passing moment, your mouth waters, dreaming of the first slice—thick and hearty, yet soft and chewy. The intoxicating scent wafts through the air, promising a flavor that dances between nutty, tangy, and slightly sweet. You envision slathering a thick pat of butter atop your fresh slice, which will melt into the warm crevices, enveloping each bite in pure bliss.
Homemade sourdough bread is not just a loaf; it is an experience. This recipe cultivates a deep connection between you and the bread—through the tactile pleasure of kneading, the gentle rise of the dough, and the delightful crack of the crust as it cools. Bake it in a loaf pan, and you will discover not only a stunning centerpiece for your table but a true labor of love that engages all your senses, turning a simple act into a passionate affair with bread-making.
Why You’ll Love This Homemade Sourdough Bread
This sourdough bread recipe stands out for its delightful textures and tastes, making it an essential skill to showcase in any home cook’s repertoire. The tanginess of a well-cultivated sourdough starter adds an extraordinary depth of flavor, while the crisp, golden crust juxtaposes the airy, soft interior. Each bite nurtures a certain comfort, welcoming you in after a long day or serving as the perfect accent to your breakfast table.
Imagine serving this bread at a Sunday brunch, enticing your guests with toast topped with creamy avocado, or presenting it as a humble yet delicious side alongside a steaming bowl of soup. Whether you are crafting tantalizing toast for breakfast or sandwiches for lunch, this bread proves versatile for every occasion. With each loaf, your confidence will grow, transforming what may appear as a daunting baking endeavor into an enjoyable routine.
Preparation Phase & Tools to Use
Embarking on your homemade sourdough adventure requires a few essential tools to make the experience smooth and successful:
- Stand Mixer with Dough Hook: This device reduces the effort of kneading, allowing you to achieve that perfect dough texture without tiring your arms.
- Loaf Pan: A sturdy loaf pan (preferably non-stick) provides the shape that gives rise to your bread.
- Instant-Read Thermometer: Ensures you bake your bread to perfection, achieving that ideal internal temperature.
- Kitchen Scale: Precision matters when it comes to baking; a scale guarantees accurate measurements for your ingredients.
- Damp Kitchen Towel or Plastic Wrap: To cover your dough while it rises, keeping it warm and moist.
Preparation tips are simple yet impactful. First, ensure your sourdough starter is actively bubbling before using it, as a healthy starter yields the best results. Second, feel free to adjust the hydration level of your dough by slightly altering the amount of water, tuning it to your baking preferences.
Ingredients for Homemade Sourdough Bread
- 500g Bread Flour (plus extra for dusting): This high-protein flour creates a strong gluten structure, resulting in a chewy crumb.
- 350g Water: Preferably lukewarm; this encourages yeast activity and contributes to dough hydration.
- 100g Sourdough Starter: This wild yeast culture brings depth and character, creating the signature tang.
- 10g Salt: A key player that influences flavor and strengthens the dough by enhancing gluten development.
If you’re in a pinch, you can swap bread flour with all-purpose flour, but for optimal texture and structure, the former is highly recommended.
How to Make Homemade Sourdough Bread
-
Mix the Dough: In a large bowl, combine the bread flour and warm water. Stir until fully mixed and let the mixture rest for an enticing 30 minutes. This autolyse process hydrates the flour, enhancing gluten development.
-
Incorporate Starter and Salt: Add your active sourdough starter and salt to the bowl. Mix everything until a shaggy dough forms—don’t worry about perfection; your hands will do the work!
-
Knead for Perfection: Knead this dough for about 10 minutes, feeling it transform from rough to smooth and elastic under your fingertips.
-
The Rise: Place your dough in a greased bowl, cover it with a kitchen cloth, and let it rise at room temperature until it doubles in size (around 4-6 hours, depending on the warmth of your kitchen).
-
Shape & Second Rise: Gently deflate the dough and shape it into a log. Place it in your greased loaf pan, cover it again, and let it rise for another 1-2 hours, the anticipation growing with every passing second.
-
Preheat the Oven: Preheat your oven to a fiery 450°F (230°C) while your loaf completes its final rise.
-
Bake to Golden Perfection: Bake for 30-35 minutes until the crust achieves a gorgeous golden brown and sounds hollow when tapped.
-
Cool and Slice: Remove your masterpiece from the oven and allow it to cool on a wire rack before slicing, preventing a steamy interior.
Chef’s Notes & Helpful Tips
- Make-Ahead: Prepare your sourdough starter the night before you’ll be baking. Stability is key!
- Cooking Variations: You can adapt this recipe for air frying by adjusting the cooking time to around 20-25 minutes at a similar temperature.
- Customization: Experiment with adding herbs, nuts, or seeds to the dough for an enticing twist.
Common Mistakes to Avoid
Diving into sourdough may seem daunting, but avoiding a few key pitfalls will help you rise to the occasion:
- Using an inactive starter: Always ensure your starter is bubbly and active; otherwise, your bread won’t rise.
- Skipping the rise time: Resist the temptation to rush the fermentation process. Patience yields more flavorful bread.
- Neglecting to gauge temperature: Overbaking will dry out your bread; invest in a thermometer to ensure it reaches the perfect internal temperature of around 200°F (93°C).
What to Serve With Homemade Sourdough Bread
The beauty of sourdough lies in its versatility; pair it with:
- Avocado Toast: Smashed avocado topped with chili flakes makes for a creamy, crave-worthy breakfast.
- Tomato Soup: This classic duo warms the soul and soothes the senses.
- Eggs (fried, poached, or scrambled): Elevate your brunch spread with eggs nestled atop toasted sourdough.
- Charcuterie Board Components: Roll out a feast with meats, cheeses, nuts, and pickles harmonizing beautifully with your rustic bread.
- Olive Oil and Balsamic Vinegar: For dipping, this simple pairing accentuates the tangy notes of the sourdough.
- Fresh Jam or Marmalade: Sweet preserves balance the sourness, inviting indulgence.
- Any savory soup or stew: Comfort food at its finest, bread acts as the perfect tool for sopping.
Storage & Reheating Instructions
To maintain the freshness of your sourdough, keep it in a paper bag at room temperature for up to two days. For longer storage, wrap it tightly in plastic and freeze it for up to 3 months. Reheat slices in the oven at 350°F (175°C) for about 5-10 minutes or toast them for an instant warm-up.
Estimated Nutrition Information
Serving Size: 1 slice (approx. 50g)
Calories: 120
Total Fat: 0.5g
Carbohydrates: 25g
Fiber: 1g
Protein: 4g
(Nutrition values may vary based on specific brands and methods used.)
FAQs
1. Can I use whole wheat flour instead of bread flour?
Yes, you can mix whole wheat flour with bread flour for added nutrition, but be mindful that it may alter the texture slightly.
2. How do I know if my sourdough starter is ready to use?
Your starter should be bubbly and have doubled in size after feeding. Conduct the “float test”—a spoonful of starter should float in water.
3. What if my dough doesn’t rise?
If your dough fails to rise, check the activity of your starter. Also, ensure optimal room temperature—dough rises slowly in colder environments.
4. Can I make sourdough bread without a loaf pan?
Certainly! Freeform baking on a pizza stone or cast iron pan produces a crusty round loaf known as boules.
5. How can I obtain a milder sour flavor?
Reduce the fermentation time slightly, and use a well-fed starter; this can help control the tanginess of your bread.
As you step back to admire your homemade loaf, the warmth radiating from its golden crust enchants. Break it open to reveal that pillowy interior, and as you savor your creation, celebrate every flavor, every effort, and every moment woven into this timeless act of baking. There’s something truly magical about the journey of sourdough, so roll up your sleeves, mix that dough, and let your walls be adorned with the fragrant story of your own homemade sourdough bread. Your kitchen awaits the delightful symphony that is born from your hands!
Print
Homemade Sourdough Bread
- Total Time: 180 minutes
- Yield: 12 servings 1x
- Diet: Vegetarian
Description
A delightful loaf of homemade sourdough bread that offers a chewy interior and a crisp crust, perfect for any occasion.
Ingredients
- 500g Bread Flour (plus extra for dusting)
- 350g Water (lukewarm)
- 100g Sourdough Starter
- 10g Salt
Instructions
- Mix the dough: In a large bowl, combine the bread flour and warm water. Stir until fully mixed and let the mixture rest for 30 minutes.
- Incorporate the sourdough starter and salt to the bowl. Mix until a shaggy dough forms.
- Knead this dough for about 10 minutes, transforming it from rough to smooth.
- Place your dough in a greased bowl, cover it, and let it rise at room temperature until it doubles in size (around 4-6 hours).
- Gently deflate the dough and shape it into a log. Place it in your greased loaf pan and let it rise for another 1-2 hours.
- Preheat your oven to 450°F (230°C).
- Bake for 30-35 minutes until the crust is golden brown and sounds hollow when tapped.
- Remove from the oven and allow it to cool on a wire rack before slicing.
Notes
For optimal results, ensure your sourdough starter is active before using. Adjust hydration levels to your preference if needed.
- Prep Time: 30 minutes
- Cook Time: 35 minutes
- Category: Bread
- Method: Baking
- Cuisine: American
Nutrition
- Serving Size: 1 slice
- Calories: 120
- Sugar: 0g
- Sodium: 200mg
- Fat: 0.5g
- Saturated Fat: 0g
- Unsaturated Fat: 0g
- Trans Fat: 0g
- Carbohydrates: 25g
- Fiber: 1g
- Protein: 4g
- Cholesterol: 0mg
Keywords: sourdough, homemade bread, baking, artisan bread, bread recipe