
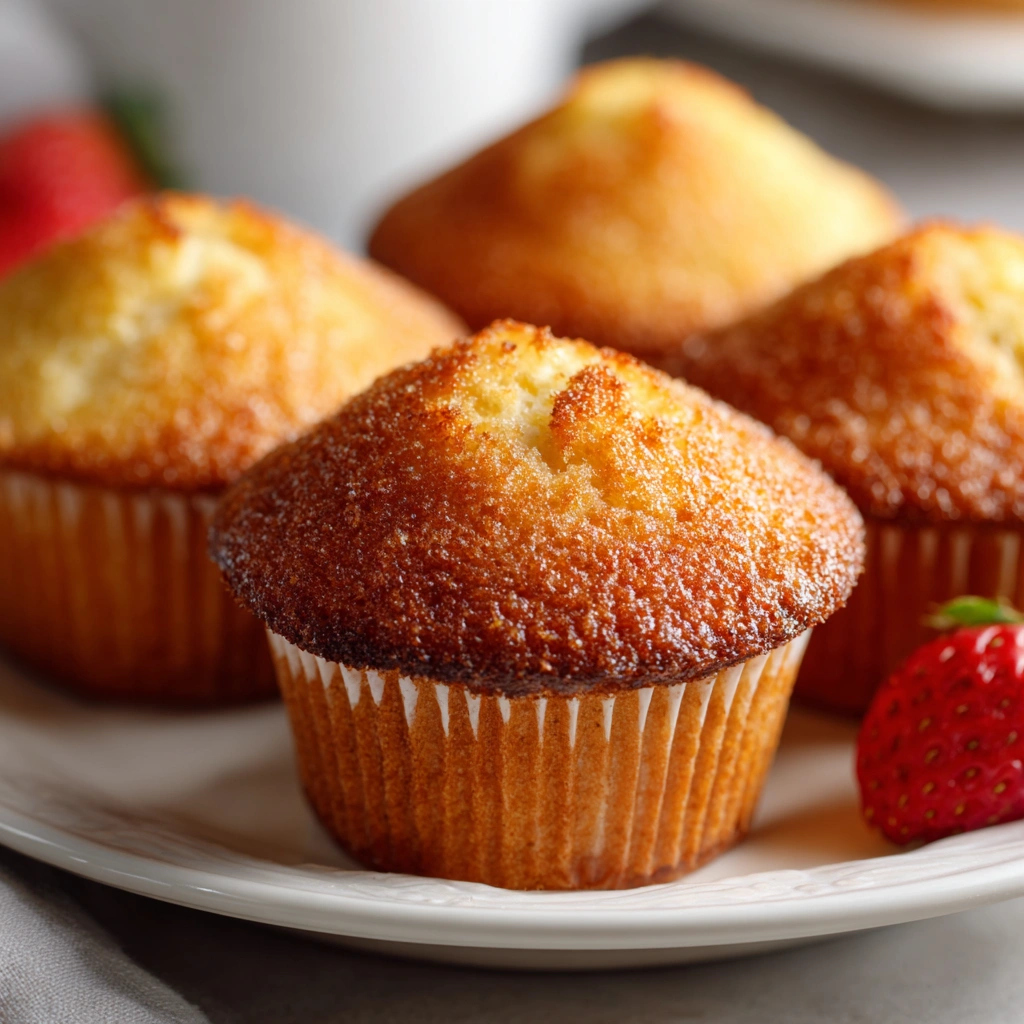
Basic Vanilla Muffins
Introduction to Basic Vanilla Muffins
As a busy mom, I know how precious time can be, especially in the mornings. That’s why I adore these Basic Vanilla Muffins! They’re not just quick to whip up; they’re also a delightful treat that can brighten anyone’s day. Imagine the aroma of freshly baked muffins wafting through your home, inviting your loved ones to gather around the kitchen. Whether you need a quick breakfast solution or a sweet snack for the kids, this recipe is your go-to. Trust me, once you try these muffins, they’ll become a staple in your baking repertoire!
Why You’ll Love This Basic Vanilla Muffins
These Basic Vanilla Muffins are a lifesaver for busy days! They come together in just 35 minutes, making them perfect for a quick breakfast or an afternoon snack. The taste? Oh, it’s simply heavenly! With a soft, fluffy texture and a hint of vanilla, they’re sure to please even the pickiest eaters. Plus, you can easily customize them with your favorite add-ins, making them a versatile treat for everyone!
Ingredients for Basic Vanilla Muffins
Gathering the right ingredients is the first step to baking success! Here’s what you’ll need for these delightful Basic Vanilla Muffins:
- All-purpose flour: This is the backbone of your muffins, providing structure and a soft crumb.
- Granulated sugar: Sweetness is key! It not only adds flavor but also helps create that lovely golden crust.
- Baking powder: This leavening agent gives your muffins that perfect rise, making them light and fluffy.
- Salt: Just a pinch enhances the flavors and balances the sweetness.
- Unsalted butter: Melted butter adds richness and moisture, making each bite melt in your mouth.
- Milk: This adds moisture and helps create a tender texture. You can use whole, low-fat, or even a non-dairy alternative!
- Large eggs: Eggs bind everything together and contribute to the muffins’ structure and richness.
- Vanilla extract: The star of the show! It infuses your muffins with a warm, inviting flavor.
For those who like to experiment, consider adding chocolate chips, nuts, or dried fruit for an extra flavor boost. If you’re out of an ingredient, don’t fret! You can substitute with whole wheat flour for a healthier twist or use yogurt instead of milk for added tang. The exact measurements for these ingredients are at the bottom of the article, ready for you to print and keep handy!
How to Make Basic Vanilla Muffins
Step 1: Preheat and Prepare
First things first, preheat your oven to 350°F (175°C). This step is crucial for achieving that perfect rise. While the oven warms up, grab a muffin tin and line it with paper liners. This not only makes for easy cleanup but also helps the muffins pop out effortlessly. Trust me, there’s nothing worse than a muffin stuck in the tin!
Step 2: Mix Dry Ingredients
In a large mixing bowl, whisk together the all-purpose flour, granulated sugar, baking powder, and salt. This is where the magic begins! Make sure to break up any lumps in the flour. A good mix ensures that the baking powder is evenly distributed, which is key for those fluffy Basic Vanilla Muffins. It’s like giving your muffins a little pep talk before they rise!
Step 3: Combine Wet Ingredients
In another bowl, mix the melted butter, milk, eggs, and vanilla extract until everything is well combined. The melted butter should be warm but not hot, so it doesn’t cook the eggs. This mixture is the heart of your muffins, adding moisture and flavor. Just imagine the sweet aroma of vanilla filling your kitchen as you stir!
Step 4: Combine Wet and Dry Ingredients
Now, it’s time to bring the two mixtures together! Pour the wet ingredients into the bowl with the dry ingredients. Gently stir until just combined; it’s okay if there are a few lumps. Overmixing can lead to tough muffins, and we want them soft and tender. Think of it as a gentle hug for your batter!
Step 5: Fill Muffin Cups
Using a spoon or a scoop, divide the batter evenly among the muffin cups, filling each about two-thirds full. This allows room for the muffins to rise beautifully. If you’re feeling adventurous, now’s the time to sprinkle in some chocolate chips or nuts! Just imagine those little surprises waiting inside each muffin!
Step 6: Bake the Muffins
Place the muffin tin in the preheated oven and bake for 18-20 minutes. Keep an eye on them! You’ll know they’re done when a toothpick inserted into the center comes out clean. The smell wafting through your home will be irresistible. It’s like a warm hug from the oven!
Step 7: Cool and Serve
Once baked, allow the muffins to cool in the pan for about 5 minutes. This helps them set and makes them easier to remove. After that, transfer them to a wire rack to cool completely. Serve them warm or at room temperature. They’re perfect on their own or with a pat of butter. Enjoy every bite!
Tips for Success
- Always measure your flour correctly; spoon it into the measuring cup and level it off.
- Let your ingredients come to room temperature for better mixing.
- Don’t overmix the batter; a few lumps are perfectly fine!
- Experiment with add-ins like nuts or dried fruit for a fun twist.
- Store leftover muffins in an airtight container to keep them fresh.
Equipment Needed
- Muffin tin: A standard 12-cup muffin tin works best, but you can use silicone molds for easy removal.
- Mixing bowls: Use one large bowl for dry ingredients and another for wet ingredients.
- Whisk: A simple whisk is perfect for mixing, but a fork will do in a pinch.
- Spoon or scoop: For portioning the batter into the muffin cups.
- Cooling rack: Essential for letting your muffins cool evenly; a plate can work too!
Variations of Basic Vanilla Muffins
- Chocolate Chip Muffins: Add a cup of semi-sweet chocolate chips to the batter for a sweet twist that chocolate lovers will adore.
- Blueberry Muffins: Fold in a cup of fresh or frozen blueberries for a burst of fruity flavor and a pop of color.
- Whole Wheat Muffins: Substitute half of the all-purpose flour with whole wheat flour for a healthier option that adds a nutty flavor.
- Banana Muffins: Mash one ripe banana and mix it into the wet ingredients for a moist, banana-flavored muffin.
- Nutty Muffins: Stir in a half cup of chopped nuts, like walnuts or pecans, for added crunch and richness.
- Spiced Muffins: Add a teaspoon of cinnamon or nutmeg to the dry ingredients for a warm, spiced flavor that’s perfect for fall.
- Dairy-Free Muffins: Use almond milk or coconut milk instead of regular milk and coconut oil in place of butter for a dairy-free version.
Serving Suggestions for Basic Vanilla Muffins
- Pair your muffins with a hot cup of coffee or tea for a cozy breakfast.
- Serve with a dollop of whipped cream or a smear of butter for extra indulgence.
- For a fun twist, drizzle with honey or maple syrup before serving.
- Present them on a colorful platter for a delightful brunch spread.
- Enjoy with fresh fruit on the side for a balanced snack!
FAQs about Basic Vanilla Muffins
Can I make these Basic Vanilla Muffins ahead of time?
Absolutely! You can prepare the batter the night before and store it in the fridge. Just remember to give it a gentle stir before filling the muffin cups. You can also bake them ahead and store them in an airtight container for up to three days.
What can I substitute for eggs in this recipe?
If you’re looking for an egg substitute, try using 1/4 cup of unsweetened applesauce or a mashed banana for each egg. This will keep your muffins moist and delicious while accommodating dietary preferences.
How do I know when my muffins are done baking?
The best way to check for doneness is to insert a toothpick into the center of a muffin. If it comes out clean or with just a few crumbs, your Basic Vanilla Muffins are ready to come out of the oven!
Can I freeze these muffins?
Yes, you can freeze your Basic Vanilla Muffins! Just let them cool completely, then wrap them tightly in plastic wrap or aluminum foil. They’ll stay fresh for up to three months. Thaw them at room temperature or pop them in the microwave for a quick warm-up!
What’s the best way to store leftover muffins?
To keep your muffins fresh, store them in an airtight container at room temperature. If you want to keep them longer, consider freezing them. Just remember to label them so you know what deliciousness awaits!
Final Thoughts
There’s something truly magical about baking Basic Vanilla Muffins. The joy of pulling a tray of warm, fluffy muffins from the oven is unmatched. Each bite is a reminder of home, comfort, and the love we pour into our cooking. Whether you’re sharing them with family or enjoying one with your morning coffee, these muffins bring smiles all around. Plus, their versatility means you can adapt them to suit any taste. So, roll up your sleeves, embrace the mess, and let the aroma of vanilla fill your kitchen. Happy baking, my friends!
Print
Basic Vanilla Muffins: Discover the Secret to Perfection!
- Total Time: 35 minutes
- Yield: 12 muffins 1x
- Diet: Vegetarian
Description
A simple and delicious recipe for basic vanilla muffins that are perfect for breakfast or a snack.
Ingredients
- 2 cups all-purpose flour
- 1 cup granulated sugar
- 1 tablespoon baking powder
- 1/2 teaspoon salt
- 1/2 cup unsalted butter, melted
- 1 cup milk
- 2 large eggs
- 2 teaspoons vanilla extract
Instructions
- Preheat your oven to 350°F (175°C) and line a muffin tin with paper liners.
- In a large bowl, whisk together the flour, sugar, baking powder, and salt.
- In another bowl, mix the melted butter, milk, eggs, and vanilla extract until well combined.
- Pour the wet ingredients into the dry ingredients and stir until just combined; do not overmix.
- Divide the batter evenly among the muffin cups, filling each about 2/3 full.
- Bake for 18-20 minutes or until a toothpick inserted into the center comes out clean.
- Allow the muffins to cool in the pan for 5 minutes before transferring them to a wire rack to cool completely.
Notes
- For added flavor, consider adding chocolate chips or nuts to the batter.
- Store muffins in an airtight container at room temperature for up to 3 days.
- These muffins can be frozen for up to 3 months; just thaw before serving.
- Prep Time: 15 minutes
- Cook Time: 20 minutes
- Category: Baking
- Method: Baking
- Cuisine: American
Nutrition
- Serving Size: 1 muffin
- Calories: 180
- Sugar: 10g
- Sodium: 150mg
- Fat: 7g
- Saturated Fat: 4g
- Unsaturated Fat: 2g
- Trans Fat: 0g
- Carbohydrates: 25g
- Fiber: 1g
- Protein: 3g
- Cholesterol: 40mg
Keywords: vanilla muffins, basic muffins, easy muffin recipe